Create a multi-tenant, whitelabel application in Elixir & Phoenix part I: Working with subdomains
- 8 minsThis blog post originally appeared on the Red Squirrel Blog.
In this series of posts of I’ll explain what whitelabel, multi-tenant applications are and how a basic example of that could look like in Elixir and Phoenix.
The posts in these series are:
- Part I: Working with subdomains
- Part II: Dynamic subdomain routing
- Part III: Adding accounts (tenants)
What is a multi-tenant application?
A multi-tenant application is an application that uses the same application and database to serve multiple tenants whilst keeping each tenant’s data separated. You can think of a tenant as an account that represents a business and/or a group of people. A known example of such an app is Slack.
What is a whitelabel application?
A whitelabel application is a software application that uses the above multi-tenant approach but takes it a step further by allowing each customer (tenant) to add their own unique customisation and branding. In this setup each tenant has their own domain through which they access the application. Some examples are Shopify and Squarespace.
Architecture of a whitelabel application
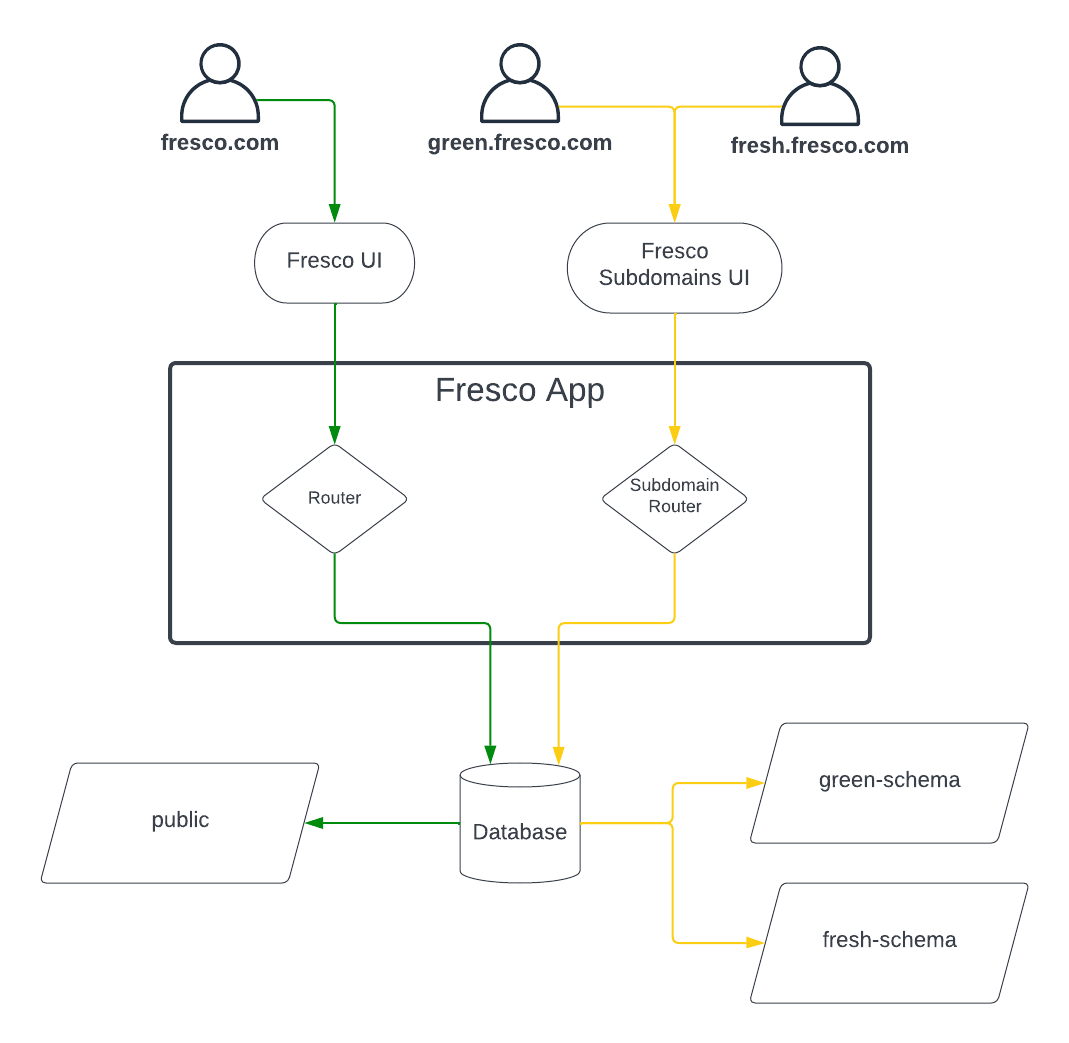
There are many ways one can structure an application and this is true for whitelabel applications too. Below is an example architecture diagram for what we will be building. A whitelabel application to represent software that can be used by different farmer’s markets. The app will be accessible via the root domain (fresco.com) and by two subdomains representing two different accounts. Requests coming from the root domain will be handled by the existing router whereas requests from the subdomains will be handled by subdomain router we will create. The subdomains will also be served different pages than the root domain:
Time to code
The requirements for this tutorial are the following:
- Elixir 1.14
- Phoenix 1.6
- Postgres 13
For more detailed instructions on how to install the above, see the official Phoenix installation instructions.
The first thing we need to do is create a new Phoenix application:
mix phx.new fresco
Once our application is created, run the relevant commands to set up the database and start the server in an interactive Elixir shell:
cd fresco

mix ecto.create

iex -S mix phx.server
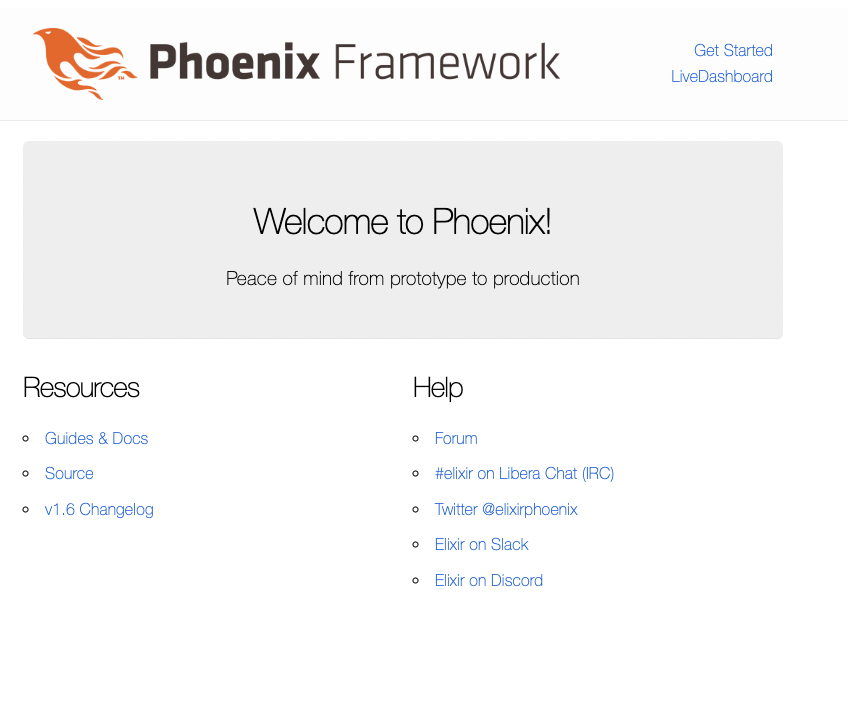
Visit http://localhost:4000 and you should see the following welcome page:
Subdomains setup
Now that we have our server up and running, let’s make it accessible via different subdomains. For a real production environment we would need to purchase a custom domain, an SSL certificate and set up the relevant DNS records. For this tutorial we will simply modify our local network settings to simulate the effect of having a custom domain. To do so, we need to modify the /etc/hosts file.
Note: you will likely need to use admin permissions to edit this file (sudo vim /etc/hosts)
Note: for Windows users you may need to edit a different file according to your system. An example is \WINDOWS\system32\drivers\etc
Let’s edit the /etc/hosts file and add 3 domains:
127.0.0.1 fresco.com green.fresco.com farm.fresco.com
What we are doing here is pointing 3 domains (fresco.com green.fresco.com farm.fresco.com) to our local server (127.0.0.1) for DNS resolution. This file essentially takes the 3 domains and translates them to an IP address, in this case our localhost.
Head back to the browser and type http://fresco.com:4000/ in the existing tab. Open a new browser tab and type http://green.fresco.com:4000/. You should see the same page in both tabs but now notice that you are using the custom domains to access the Phoenix app:
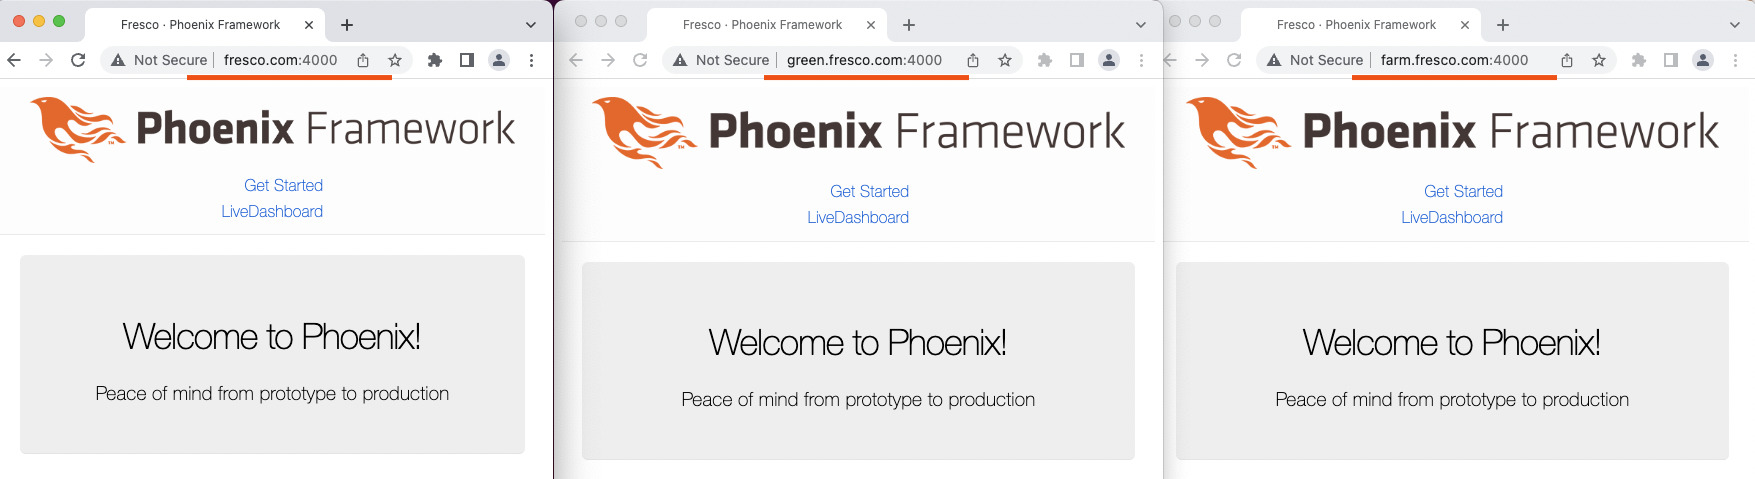
Excellent! Now our app is accessible through different domains. Of course we still have an issue which is that we’re seeing the same content and that’s not our goal. Our goal is to see different content based on the given domain/subdomain.
To achieve this we need to establish which domain will be our root domain and also add a mechanism that captures a given subdomain.
To set our root domain, we need to make a change in our config/config.exs file and change the host our FrescoWeb.Endpoint is using to point to fresco.com:
# config/config.exs

config :fresco, FrescoWeb.Endpoint,
  url: [host: "fresco.com"], # <--
  render_errors: [view: FrescoWeb.ErrorView, accepts: ~w(html json), layout: false],
Now let’s create a new directory called plugs under the existing lib/fresco_web directory:
mkdir lib/fresco_web/plugs
Inside this new directory we’ll create a new file called subdomain.ex:
touch lib/fresco_web/plugs/subdomain.ex
Inside this file we’ll add the following code:
defmodule FrescoWeb.Plugs.Subdomain do
  @behaviour Plug # see this for more on behaviours: https://elixir-lang.org/getting-started/typespecs-and-behaviours.html#behaviours

  import Plug.Conn, only: [put_private: 3]

  def init(_opts) do
    %{ root_host: FrescoWeb.Endpoint.config(:url)[:host] }
  end

  def call(%Plug.Conn{host: host} = conn, %{root_host: root_host} = _opts) do
    case extract_subdomain(host, root_host) do
      subdomain when byte_size(subdomain) > 0 ->
        put_private(conn, :subdomain, subdomain)
      _ ->
        conn
    end
  end

  defp extract_subdomain(host, root_host) do
    String.replace(host, ~r/.?#{root_host}/, "")
  end
end
Here we are defining a custom Plug (what is a Plug?) that is responsible for extracting the subdomain from the incoming request and storing it inside the conn struct which is used to store details related to the request/response lifecycle. The init function is used to initialise the plug with different configuration options which are then passed as the second argument to the call function. We utilise this mechanism by defining a map containing the root host we defined earlier. Inside the call function we check if there is a subdomain and if so we store it inside the conn struct, otherwise we return the conn struct as is.
Now that we have the above plug, we need to plug it into the existing Phoenix pipeline which is comprised of other plugs applying various transformations. To do so, we need to edit our Endpoint (what is an Endpoint?) located in the lib/fresco_web/endpoint.ex file. We’ll add our Subdomain plug just above the FrescoWeb.Router plug like so:
plug Plug.Session, @session_options
plug FrescoWeb.Plugs.Subdomain # <--
plug FrescoWeb.Router
To have visual confirmation that the above changes are working, we will edit the rendered html found in lib/fresco_web/templates/page/index.html.heex to display a different greeting based on the subdomain used. Change the following line:
<h1><%= gettext "Welcome to %{name}!", name: "Phoenix" %></h1>
to this:
<h1><%= gettext "Welcome to %{name}!", name: Map.get(@conn.private, :subdomain, "fresco") %></h1>
In the above snippet, we access the @conn variable which is available to our controllers and templates as part of Phoenix and from it we extract the value of the :subdomain key which is stored under another map called private. If no value is found, we return "fresco" to indicate we’re accessing our root domain.
Restart the server, open three new tabs and access the domains we listed above http://fresco.com:4000/, http://green.fresco.com:4000/, http://farm.fresco.com:4000/. You should see the following pages:
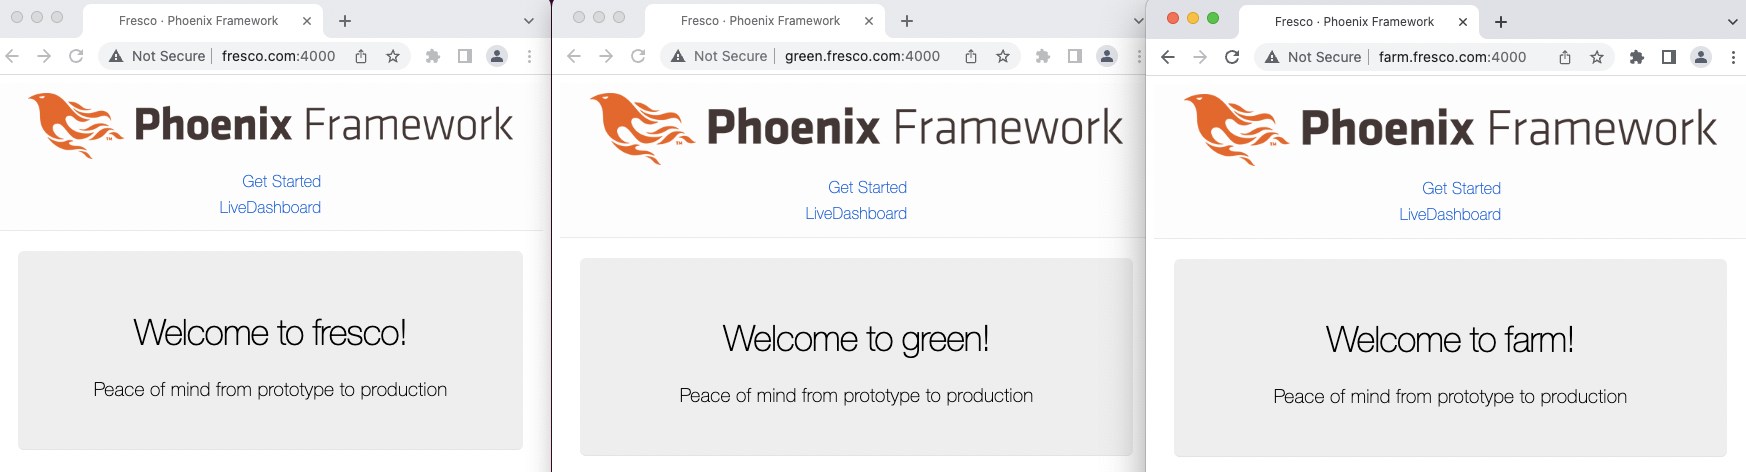
Awesome! Our app can now be accessed through different subdomains and displays content that’s relevant to each subdomain. Of course we have more to do here to make this more dynamic but this is a great step that lays the foundations for our next article in the series. See you soon!

Personal blog of Makis Otman